SpecConnect supports the location and mapping of feature markers on FieldScout maps and reports. These features may be defined and located using the FieldScout Feature Editor. To use the Feature Editor, navigate to FIELDSCOUT >> FEATURE EDITOR on the left menu. From there follow these steps to create new feature groups and/or place features on a course/farm map:
- Select or Add a course/farm
- Select a existing feature group or create a new feature group
- If you are creating a new feature group, you will be prompted for:
- A feature group name
- A feature marker icon
- A feature marker color

- If you are creating a new feature group, you will be prompted for:
- Click on the map at the location you wish to place the feature object
- Drag/drop the feature icon to refine its location
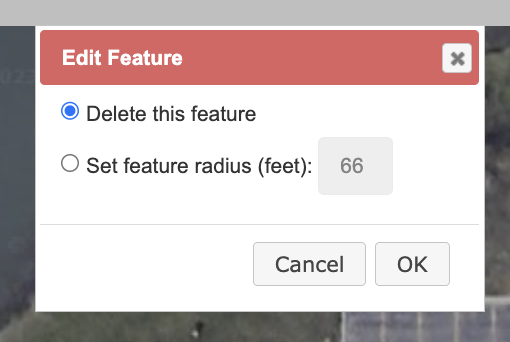
- Double-click the feature icon to pop-up an edit dialog to either
- Delete the feature or
- Set the feature radius (default 0)