Creating a custom report on SpecConnect normally involves 2 separate steps:
- Create a Report Template which defines the data (columns) that will be displayed in the report,
- Attach device sensors that should be used to calculate or derive the data to be displayed for each of the columns defined in the previous step.
Creating the Report Template
Navigate to the SpecConnect REPORTS page and click on the New Template button in the Custom Report Templates section. You should then see a page that looks similar to the following:

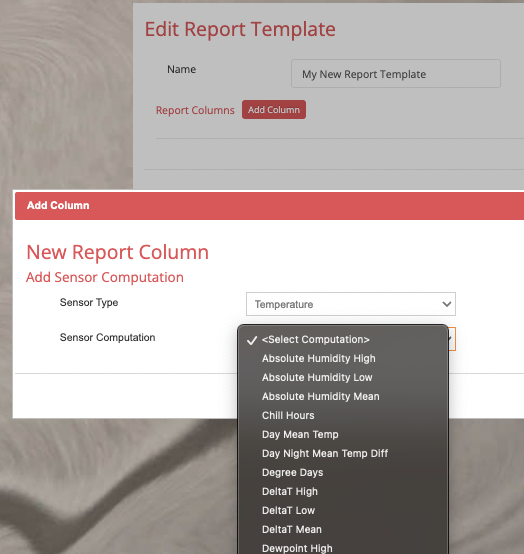
Give the Template a name and click the Create Template and Add Columns button. Create new report columns by clicking the Add Column button and selecting a Sensor Type and Sensor Computation for each new column:
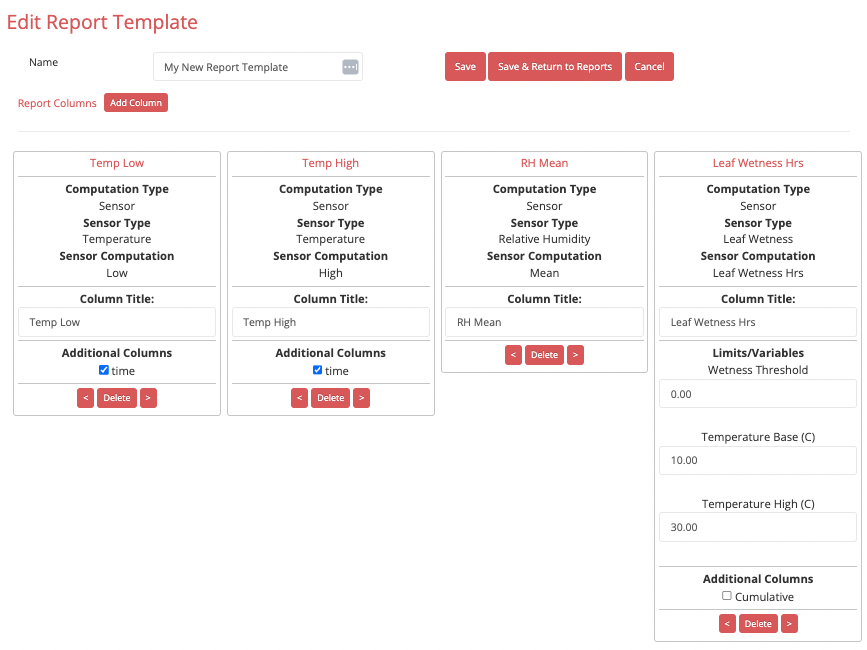
Some calculations allow you include a timestamp or cumulative value in addition to the selected calculation. Some calculations allow you to (optionally) change the defaults used for various limit variables that should be used in the column sensor calculation. The < > and Delete buttons allow you to reorder and customize the report columns. Once you have created all of required columns for your new custom report click Save & Return to Reports:
Assigning Sensors to Column Calculations
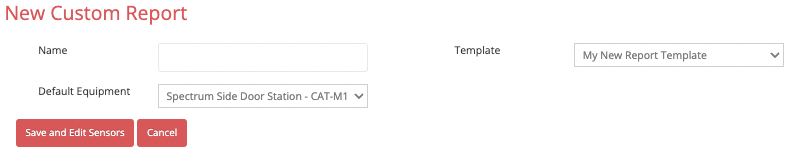
Back on the REPORTS page click the New Report button in the Custom Reports section. Select the Template you just created (or another pre-fabricated report template), select a default device (equipment) to be used for each calculation, give the report a name and click the Save and Edit Sensors button:
SpecConnect will attempt to map sensors from the device you selected in the previous step where there is only one alternative. Otherwise, you should select the sensor(s) you wish to use for each column calculation. You have the option of changing the device from the default for each column by clicking on the device name and selecting a new device.
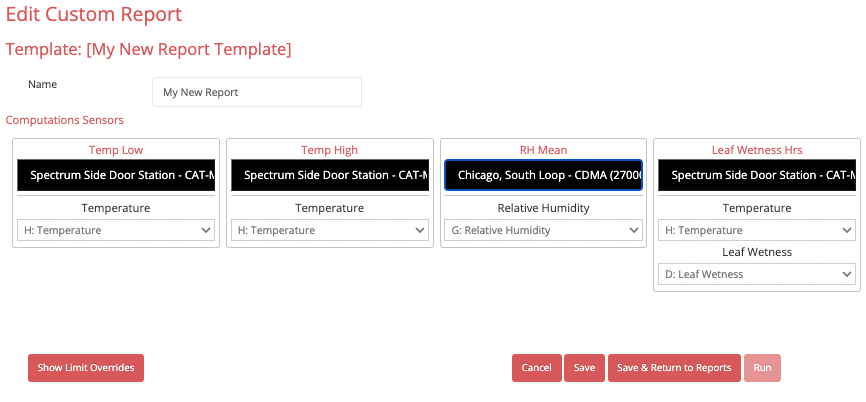
Once you are satisfied with your selections, you can Save the assignments and either Run the report from this page or return to the main REPORTS page and clicking on the report name to run the report.
Running the report will require you to input a date range and and interval (Daily, Hourly or Monthly):
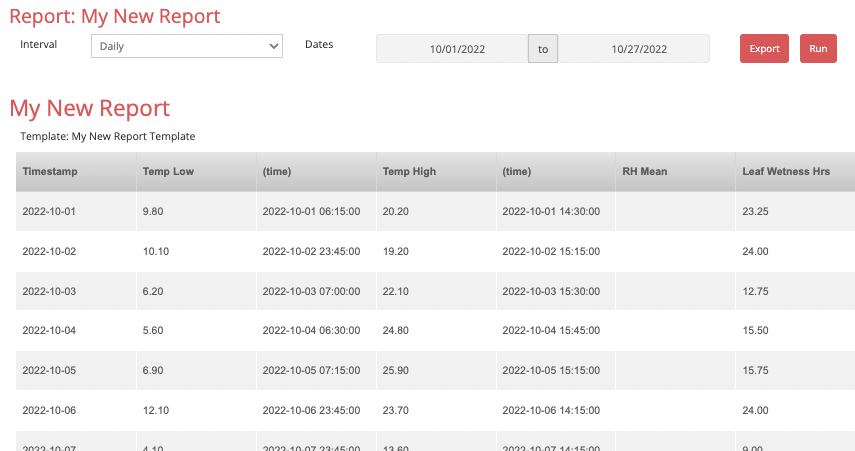
Clicking the Export button will download a csv file to your browser which contains the report data for the parameters selected.
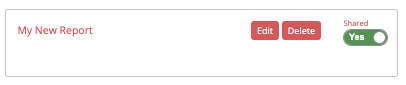
You can share your new report and/or report template with other users within your company by toggling the Share switch on the respective report and/or report template listing on the main REPORTS page: